



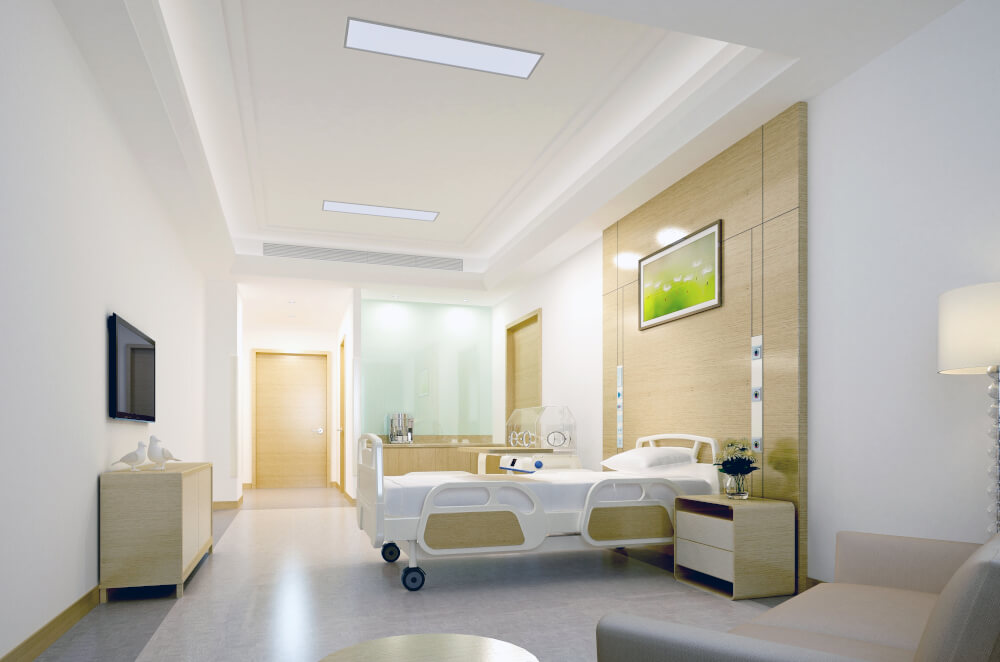
Soundproofing with Knauf profiles and Fastmount clips: installation guide
A conventional acoustic wall lining solves the insulation, but creates a new problem: once screwed and glued, the wall is closed. Any later access to services means breaking the panel and redoing the finish.
Combining Knauf-type framing with Fastmount concealed fixing clips changes the approach: you get a wall lining with the same acoustic behaviour, but accessible and removable. This guide explains how the system is put together and the general installation procedure, focused on the StratLock range and the fixing variant SL-FB.
01Why an accessible wall lining
In a traditional wall lining, the panel is a permanent part of the wall: insulating and closing up is quick, but opening up is destructive. An accessible wall lining reverses that logic with male-female concealed fixing. Direct advantages:
- Access to services without building work: the panel is removed, the work is done and the panel is refitted.
- No visible screws: clean surface, ideal for quality finishes.
- Reusable: clips and panel can be removed and refitted.
- Perfect alignment thanks to the repeatable snap-fit system.
02System components
The system works as an acoustic sandwich in which each layer has a function. From the wall inwards:
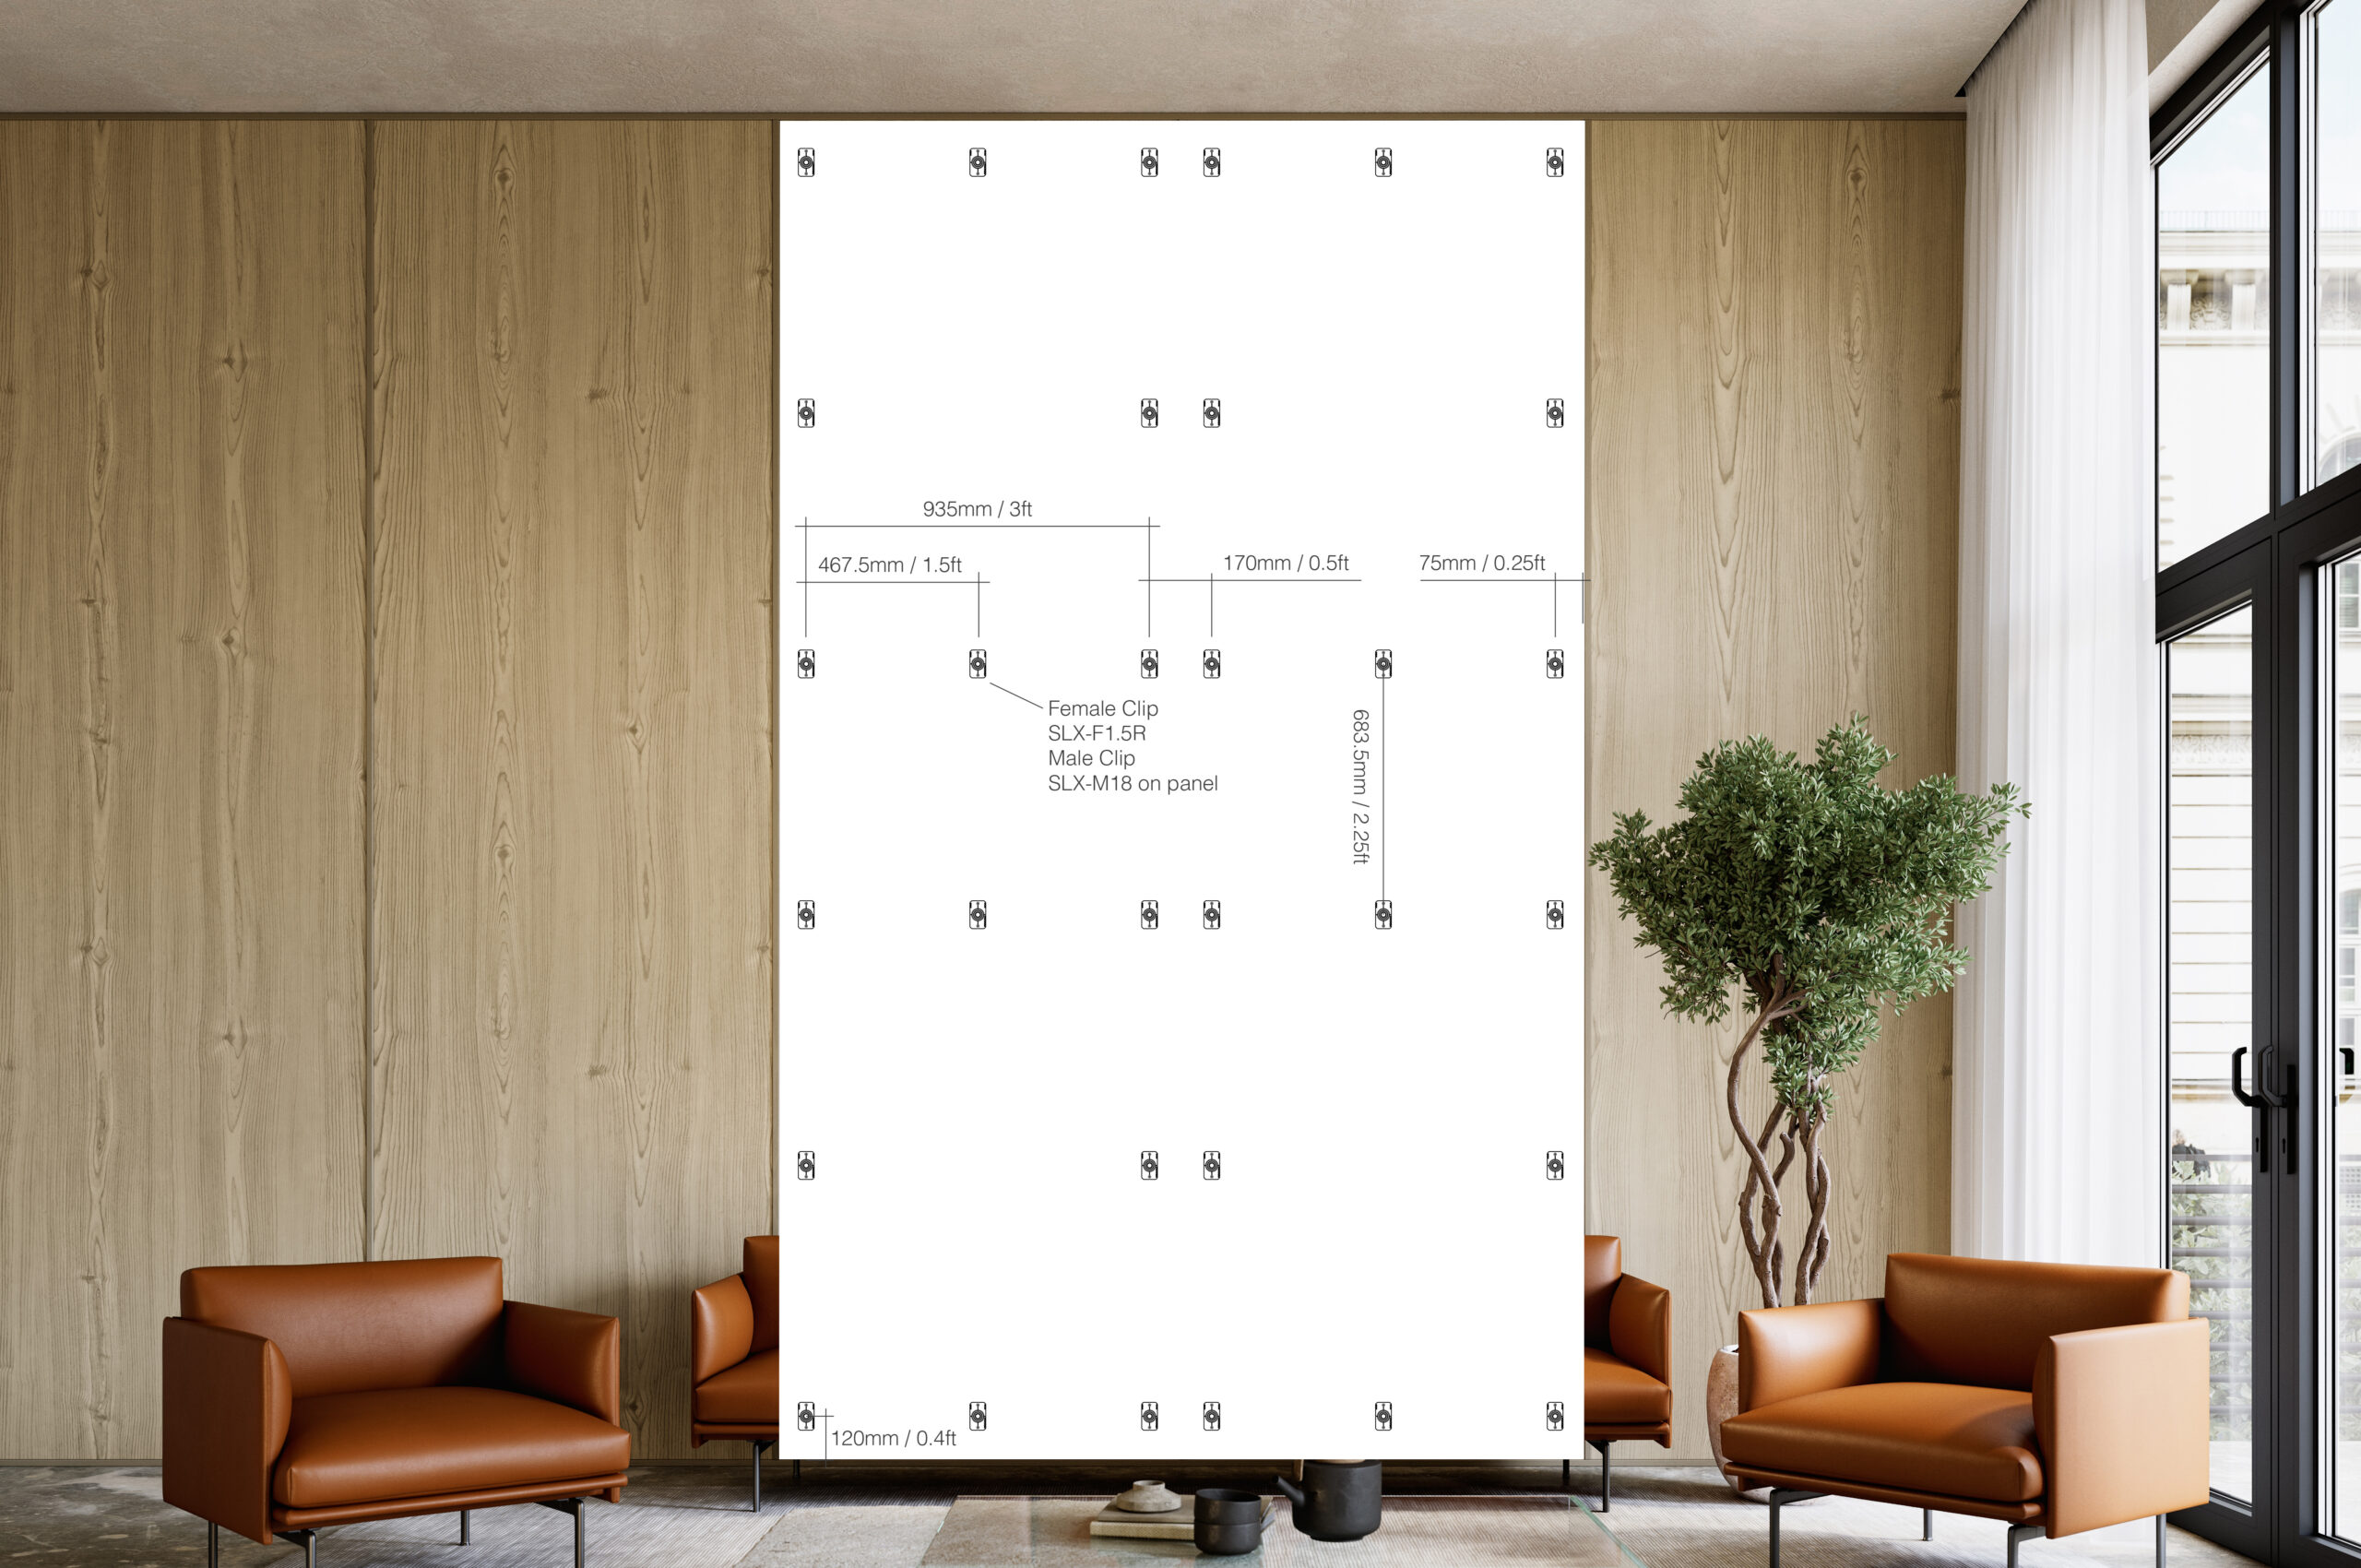
1. Metal substructure (Knauf-type framing)
The metal battens and profiles form the frame on which the assembly rests. The grid of profiles defines the fixing position of each panel.
2. Absorbent layer + RVT650
The absorbent material (mineral wool or other) sits within the substructure. Added to this layer is RVT650, Fastmount's own soundproofing product. The combination framing + wool/absorber + RVT650 is what delivers the acoustic performance.
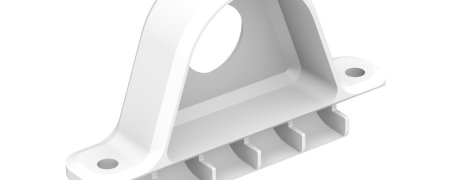
3. Fastmount clips from the StratLock range (SL-FB)
The SL clips belong to the range StratLock, aimed at large formats, rail systems and wall linings. SL-FB is a fixing variant of that family for accessible wall linings.
4. Acoustic finishing panel
The finishing panel is prepared by fixing the male part of the clips to its back. It is the piece that will be removed whenever the services need to be accessed.
03How to fit the removable acoustic panel
The procedure is qualitative. Measurements, number of clips, spacings and insulation values depend on the project; check the technical data sheet and ask for advice before carrying out the work.
- Setting out and substructure. Fit the metal framing; check flatness and plumb.
- Absorbent layer + RVT650. Place the absorber between the profiles and add the soundproofing product according to the planned sandwich.
- Female clips. Fix the female parts to the substructure, following the distribution according to weight and format.
- Panel preparation. Fit the male parts to the back, matching the female parts.
- Fitting the panel. Offer up and snap the panel into place: concealed fixing, no screws, repeatable alignment.
- Check. Check joints and engagement. The assembly is closed and ready to be removed whenever needed.
Access and maintenance
When you need to access the services, simply remove the affected panel, carry out the work and refit it. No breakage, filling or repainting. This reversibility is the essential difference compared with a screwed or glued wall lining.
Preparing an accessible soundproofing project?
The exact sizing —number of clips, distribution, range and sandwich configuration— is defined case by case. We advise you on the range, the clip distribution and the applicable technical data sheet.
Calculate my solution Soundproofing without building workThe application images belong to Fastmount™. No acoustic values are claimed: all performance is referred to testing and the technical data sheet.